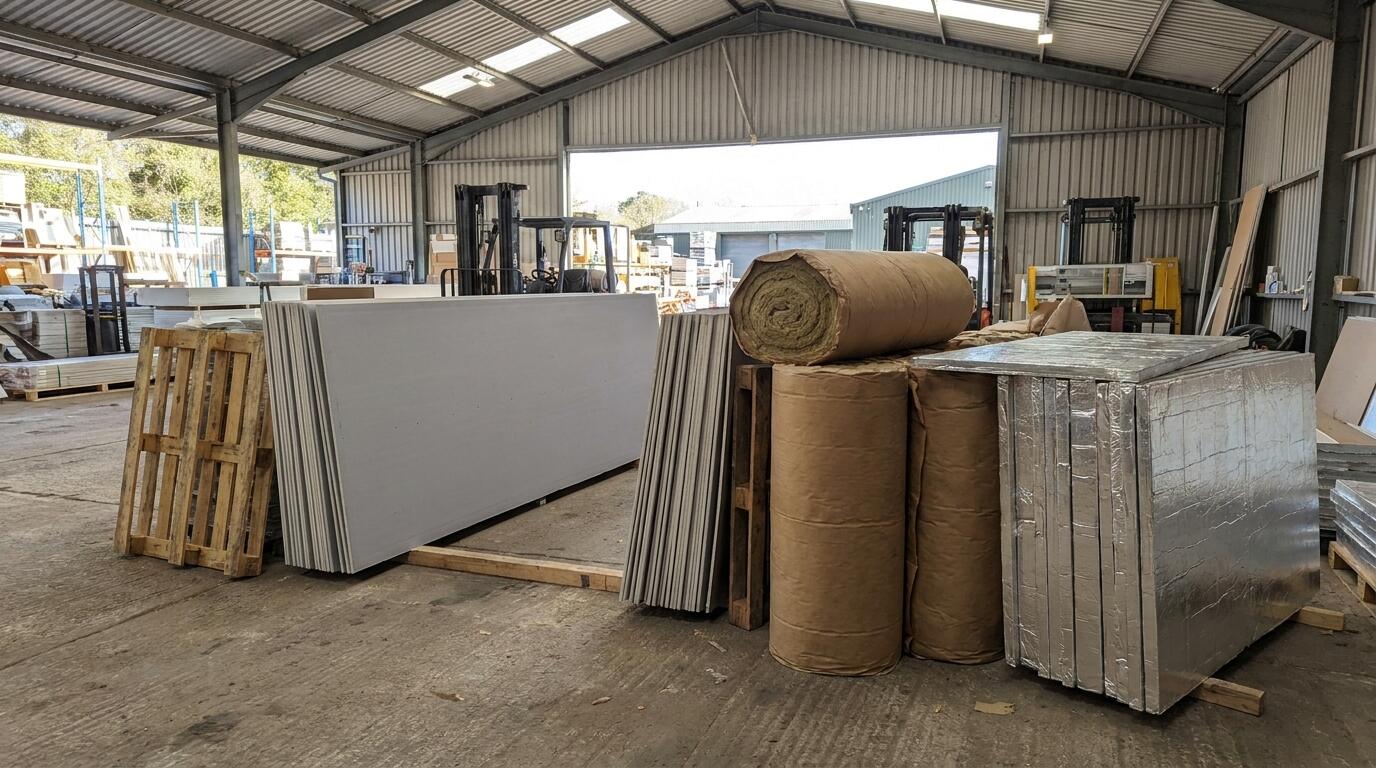
Plasterboard and insulation are bought by the square metre, weigh more than people expect and are easy to specify wrongly in ways that only show up later: a standard board that swells behind a bath panel, a loft with the eaves vents buried under the new wool, a warm roof with no vapour control layer that drips in February. This guide gives the board types, sizes and fixing rules, the insulation materials and their conductivities, and the typical thicknesses for each part of a house, with the arithmetic behind them. Where a figure depends on the building we say "typically" and give a range. Ring 0115 929 2350 to check stock before you set off.
On this page
- 1.Plasterboard types: standard, moisture, fire, sound, vapour check and insulated
- 2.Board thickness and sheet sizes: 9.5, 12.5 and 15mm, tapered vs square edge
- 3.Fixings and screw spacing: timber stud, metal stud and dot and dab
- 4.Skim vs tape-and-joint
- 5.Insulation: PIR vs mineral wool vs EPS
- 6.U-value basics: the arithmetic behind the thickness
- 7.How thick to go: typical thicknesses for current Part L targets
- 8.Ventilation gaps, vapour control and condensation
- 9.Working out quantities: a room and a loft
- 10.Buying plasterboard and insulation from the yard
- 11.Frequently asked questions
Plasterboard types: standard, moisture, fire, sound, vapour check and insulated
Plasterboard is a gypsum core between two paper faces. The core additives and the facing change what it can do, and manufacturers colour-code the face paper so you can tell them apart on a pallet.
| Type | Usual face colour | Use | Notes |
|---|---|---|---|
| Standard (wallboard) | Ivory / grey | Walls and ceilings in dry rooms | The cheapest board; most of a house |
| Moisture-resistant (MR) | Green | Bathrooms, kitchens, utility rooms, behind tiling | Silicone-treated core; resists humidity, not standing water. Not for shower enclosures without a tanking system |
| Fire-resistant (fireline) | Pink | Garage ceilings and walls to the house, under stairs, escape routes, loft conversion floors and walls | Glass-fibre reinforced core; 30 and 60 minute systems depending on thickness and layers |
| Sound (acoustic) | Blue | Party walls, bedroom walls, between floors, home offices | Denser core; used in tested systems with resilient bars or mineral wool |
| Vapour check (foil-backed) | Standard face, foil back | Warm side of insulated walls, ceilings and roofs | Provides the vapour control layer in one operation; joints still need taping |
| Insulated (thermal laminate) | Standard face, PIR or EPS bonded to the back | Insulating solid walls internally, loft conversion rooms, cold ceilings | Typically 12.5mm board on 25–80mm insulation, so 37.5–92.5mm overall with PIR |
| Impact / duplex / multi-purpose | Varies | Corridors, schools, rented property; boards combining moisture, fire and sound in one | Handy where a room needs two properties, at a higher price per board |
Bathrooms. Use MR board on every wall and the ceiling, not just behind the bath. Where tiles go on the wall, MR board is the minimum; inside a shower enclosure a cement board or a tanked MR board is the proper job, because tile grout is not waterproof.
Garages. An integral garage needs 30 minutes' fire separation from the house. That typically means fire-rated board to the walls and ceiling shared with the house, fixed to the manufacturer's tested specification, with joints filled and a fire door. Standard board in two layers can also achieve it under some systems, but a single layer of fire board is usually simpler.
Fire and acoustic performance always come from a tested system (board, stud, insulation, fixings and joint treatment together), not from the board alone. If Building Control has asked for a rating, ask us for the system data sheet.
Board thickness and sheet sizes: 9.5, 12.5 and 15mm, tapered vs square edge
Thickness is chosen for the support spacing and for fire and sound performance.
| Thickness | Maximum support centres | Approx. weight | Use |
|---|---|---|---|
| 9.5mm | 450mm | 6.5–7kg/m² (about 19kg per 2400 × 1200 board, 11kg per 1800 × 900) | Ceilings on joists at 400 or 450mm centres, lightweight work |
| 12.5mm | 600mm | 8–9kg/m² (about 24kg per 2400 × 1200 board) | Walls, ceilings at 600mm centres, dot and dab, most of a house |
| 15mm | 600mm | 11–12.5kg/m² (about 33kg per 2400 × 1200 board) | Fire and sound systems, robust walls, loft conversion ceilings |
Ceiling joists in most Nottingham houses are at 400mm centres, so 9.5mm is adequate for a ceiling and a lot lighter over your head. Anything at 600mm centres, and any wall, wants 12.5mm. Two layers of 12.5mm, joints staggered, is the usual route to a 60 minute fire rating or a serious sound reduction.
Sheet sizes. The standard board is 1200 × 2400mm (2.88m²), which suits studs and joists at 400 or 600mm centres because 1200 lands on a support at either spacing. The 900 × 1800mm board (1.62m²) is lighter, goes up a loft ladder and fits in an estate car; it suits repairs and small rooms, and studs at 450mm centres. Longer boards of 1200 × 2700mm and 3000mm reach floor to ceiling in taller Victorian rooms without a horizontal joint.
Tapered edge vs square edge. Tapered edge boards have a shallow recess along the two long edges so that jointing tape and compound sit flush; they are for taping and jointing and are also fine for skimming. Square edge boards have no recess and are for skimming only, or for the old practice of covering joints with a cover strip. If you are not sure which finish you will use, buy tapered edge; it does both.
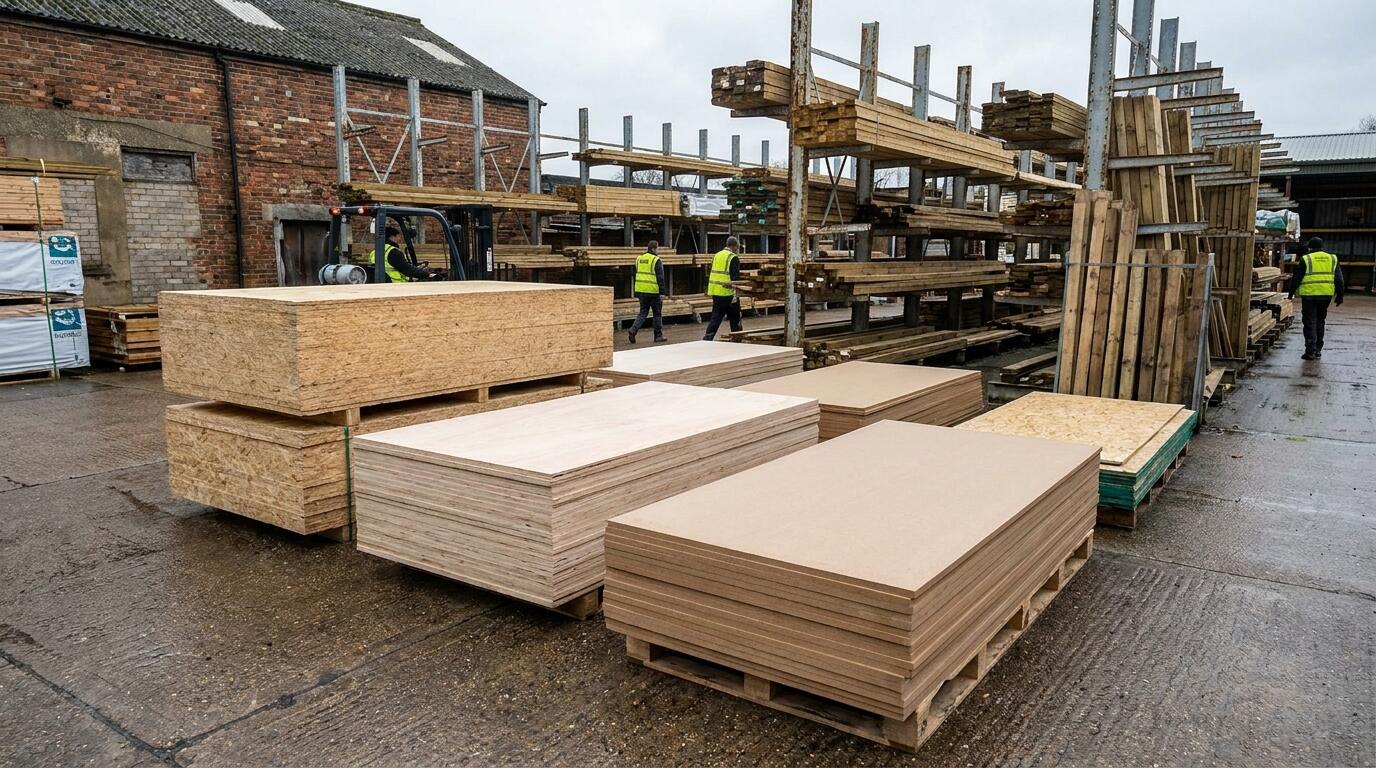
Board is sold singly and by the pallet. A full pallet of 12.5mm 2400 × 1200mm boards is heavy enough to need a forklift at both ends, which is a delivery job rather than a van job. Store boards flat, dry and off the ground; a board that has been rained on is scrap.
Fixings and screw spacing: timber stud, metal stud and dot and dab
Screws. Use drywall screws, which have a bugle head and a sharp point, in a length that gives at least 25mm of penetration into timber or 10mm through metal stud:
| Board | Screw length into timber | Screw into metal stud |
|---|---|---|
| 9.5mm single layer | 32mm | 25mm |
| 12.5mm single layer | 38mm | 25mm |
| 15mm single layer | 41–42mm | 32mm |
| Two layers of 12.5mm | 51mm (outer layer) | 41mm |
| Insulated board 62.5mm on timber | 90mm approx. | Use the board manufacturer's fixings |
Spacing. Screws at 300mm centres on walls and 230mm centres on ceilings, into every support, kept 10mm in from paper-bound edges and 13mm from cut edges. Drive the head just below the surface without breaking the paper; a screw that has torn through holds nothing. Nails are still permitted at 150mm centres but screws are quicker and do not pop. Board edges must land on a support; where they do not, add a noggin.
Metal stud. C-studs in 50, 70 and 92mm widths at 600mm centres, in floor and ceiling channels, are quicker than timber for partitions and dead straight. Use self-tapping drywall screws and fix the board to every stud. Studwork setting out for timber is in the timber and sheet materials guide.
Dot and dab. Fixing board direct to masonry with dabs of gypsum-based adhesive is standard for the inner leaf of a new house and for lining old brick walls. Dabs go in three vertical rows per 1200mm board (one under each edge and one down the middle), each dab about 250mm long and spaced so there is roughly a hand's width between them, with a continuous band along the floor and ceiling and around openings for fire stopping. Keep the board 10–15mm off the floor, tap it plumb with a straight edge, and leave the adhesive to set before boarding the ceiling. Use a bonding primer on very dusty or painted brick. Insulated boards are dabbed the same way, with supplementary mechanical fixings where the manufacturer requires them.
A 2400 × 1200mm board on studs at 600mm centres takes about 30 screws on a wall and 40 on a ceiling; a box of 1,000 does around 30 boards.
Skim vs tape-and-joint
There are two ways to finish plasterboard ready for paint, and Nottingham has a strong tradition of the first.
Skim (plaster finish). Joints are covered with self-adhesive scrim tape, then the whole board is coated with two coats of finishing plaster, about 2mm each, trowelled to a polished surface. It gives the hardest, most uniform surface, takes knocks well, hides poor boarding and is what most homeowners expect a plasterer to do. It needs a plasterer with a good arm, the room is wet for a day or two, and the plaster must be sealed with a mist coat before painting. A 25kg bag of finishing plaster covers roughly 10m² at 2mm; two coats on a 14m² ceiling is three bags.
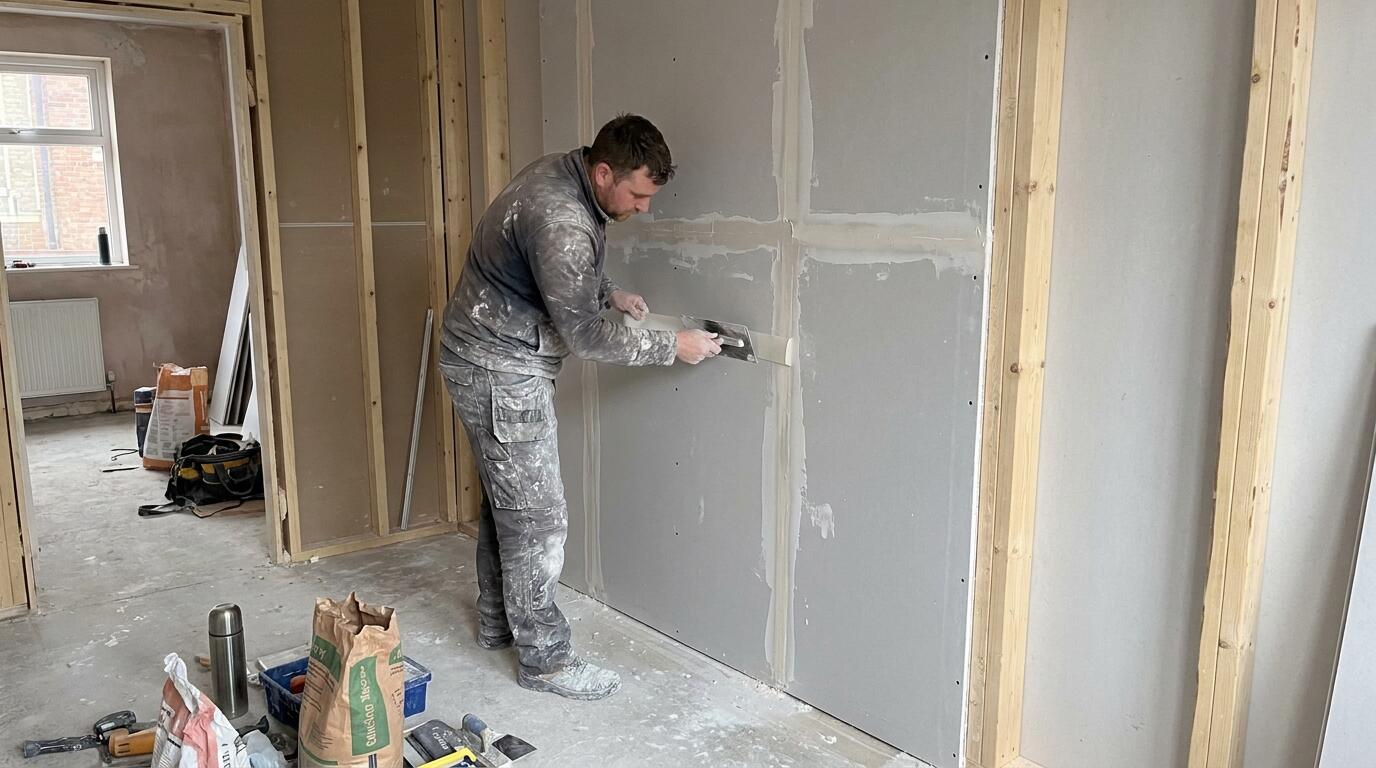
Tape and joint (dry lining). Only the joints and screw heads are treated: paper or mesh tape bedded in jointing compound over the tapered edges, then two more feathered coats, sanded flat. The rest of the board is primed and painted as it comes. It is quicker, lighter, cleaner and much less dependent on plastering skill, which is why it is the norm in new-build and commercial work. It needs tapered edge boards, accurate boarding (a proud screw or a lipped joint shows), and a drywall primer before paint. It is not as robust as a skim and it does not hide a bad board job.
| Skim | Tape and joint | |
|---|---|---|
| Board edge needed | Square or tapered | Tapered |
| Materials per m² | About 2.5kg finishing plaster, scrim on joints, PVA or primer on old plaster | About 0.5kg compound, tape on joints, primer |
| Skill and drying | Plasterer; 2–7 days to dry before painting | Patient DIYer or dry liner; each coat dries overnight |
| Finish | Hard, continuous, slightly textured under a low light | Flat, paper texture, joints invisible if done well |
Either way, joints between boards and ceilings, and at internal corners, should be taped, not just filled, or they will crack. Where new board meets old plaster, bond the old surface with PVA or a bonding agent first. We stock scrim, paper tape, jointing compound, finishing plaster, bonding, primers and the beads (corner, stop and arch) that make the difference between a rough job and a neat one.
Insulation: PIR vs mineral wool vs EPS
Insulation is compared by thermal conductivity (lambda, in W/mK): the lower the number, the less heat passes through a given thickness. The main materials, with their typical values:
| Material | Typical lambda (W/mK) | Form | Strengths | Limits |
|---|---|---|---|---|
| PIR (polyisocyanurate) foil-faced board | 0.022 | Rigid boards 2400 × 1200mm, 25–150mm | Best performance per mm; rigid; foil face doubles as vapour control | Must be cut tight and the gaps foamed; no acoustic benefit; costs more per m² |
| Phenolic board | 0.018–0.021 | Rigid boards | Thinnest for a given U-value | Dearest; brittle edges |
| Glass mineral wool | 0.040–0.044 | Rolls (loft) and slabs (between studs) | Cheap, flexible, fills gaps, good sound absorption, non-combustible | Needs double the thickness of PIR; loses performance if compressed or wet |
| Stone (rock) mineral wool | 0.034–0.038 | Slabs and batts; cavity batts | Better than glass wool; fire and acoustic performance; full-fill cavity walls | Heavier; itchy to handle |
| EPS (expanded polystyrene) | 0.036–0.038 (grey EPS 0.030–0.032) | Boards; also beads for cavity fill | Cheap, light, easy to cut, takes load under floor slabs | Combustible; needs a vapour control layer; thicker than PIR |
| XPS (extruded polystyrene) | 0.033–0.036 | Dense boards | Very low water absorption; below-ground and inverted roof use | Price |
| Natural fibre (wood fibre, sheep's wool) | 0.038–0.045 | Batts and boards | Breathable, suits old solid-wall houses | Thick; specialist |
The rule of thumb that falls out of the table: 100mm of PIR does roughly the same job as 200mm of mineral wool. Where there is room for the thickness (a loft floor), mineral wool is far cheaper for the same result. Where space is tight (between rafters, on an internal wall, under a floor), PIR earns its price.
Where each usually goes. Loft at joist level: glass mineral wool rolls. Between rafters and under them: PIR. Timber stud walls: mineral wool slabs (which also deaden sound) or PIR where a thin wall must perform. Cavity walls: full-fill stone wool batts or blown beads, partial-fill PIR in new build. Solid walls from inside: insulated plasterboard or PIR on battens. Ground floors: PIR between joists on netting, or PIR or EPS under a screed or slab. Flat roofs: PIR above the deck as a warm roof. Old solid-wall houses that need to breathe: wood fibre or a lime-based system rather than foil-faced board.
Mineral wool rolls are made 1140mm wide with perforations to split into 570mm or 380mm widths for joists at 600 or 400mm centres. PIR is cut with a fine-toothed saw or an insulation saw and the joints sealed with foil tape.
U-value basics: the arithmetic behind the thickness
A U-value is the rate of heat loss through a whole construction, in watts per square metre for each degree of temperature difference (W/m²K). Lower is better. It is what Building Regulations specify, and it is worked out from the resistances of the layers.
Each layer's thermal resistance R is its thickness in metres divided by its conductivity: R = d / lambda. Add up the layers, add the standard surface resistances (about 0.10 inside and 0.04 outside for a roof or wall), and the U-value is 1 divided by the total.
Worked example: PIR in a pitched roof.
- 100mm PIR at 0.022: R = 0.100 / 0.022 = 4.55 m²K/W.
- Add 50mm PIR: R = 0.050 / 0.022 = 2.27. Total insulation R = 6.82.
- Add 12.5mm plasterboard (about 0.06) and the two surfaces (0.14): total R about 7.0.
- U = 1 / 7.0 = about 0.14 W/m²K between the rafters.
Real roofs are worse than that, because the rafters themselves conduct heat. Timber is about 0.13 W/mK, six times worse than PIR, and at 400mm centres the rafters are around 12% of the roof area. Allowing for that thermal bridging brings the 150mm example to roughly 0.16–0.18, which is why the layer under the rafters matters so much: it covers the timber. The same logic applies to studs in a wall and joists in a floor.
Worked example: the loft floor. 100mm of glass wool between the joists plus 170mm laid across them: 270mm at 0.044 gives R = 6.1; with surfaces and ceiling, U is about 0.16 W/m²K, which is the long-standing loft target.
Worked example: a solid brick wall. A 225mm Victorian wall has a U-value around 2.0 on its own. Add 60mm of PIR (R = 2.73) on the inside as a 72.5mm insulated board, and U drops to about 0.30 W/m²K, an 85% reduction. Add 80mm (92.5mm board) and it is about 0.24. That is where the "typically 72.5–92.5mm" figure for internal wall insulation comes from.
Manufacturers publish free U-value calculators and will confirm a build-up for Building Control. What the arithmetic shows is that the first 50mm of insulation does most of the work and each further 50mm does progressively less, which is worth remembering when space is short.
How thick to go: typical thicknesses for current Part L targets
Approved Document L (2021 edition, in force since 2022) sets limiting U-values for new and renovated thermal elements in existing homes, and tighter notional values for new dwellings. The table gives the targets for work on an existing house and the build-ups that typically meet them. Confirm the exact requirement and build-up with Building Control or the insulation manufacturer before ordering; the figures vary with rafter depth, timber fraction and what is already there.
| Element | Part L target (existing homes) | Typical insulation to meet it |
|---|---|---|
| Loft, insulation at joist level | 0.16 W/m²K | 270–300mm glass mineral wool (100mm between joists, 170–200mm across) |
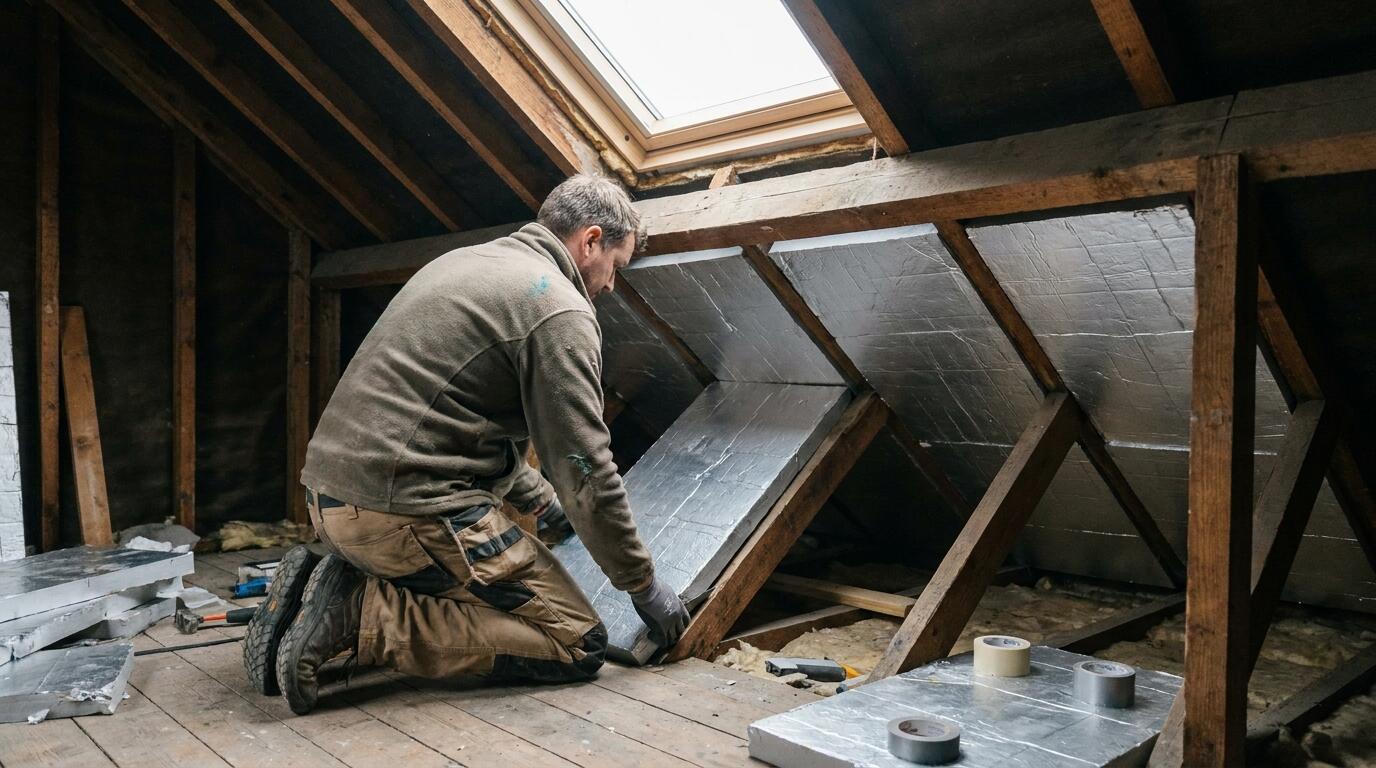
| Pitched roof, insulation at rafter level (room in roof) | 0.18 (renovation) / 0.15 (new roof) | 100–150mm PIR in total: typically 100mm between rafters over a 50mm vented gap, plus 25–50mm across the underside |
| Flat roof | 0.18 (renovation) / 0.15 (new) | 120–150mm PIR above the deck as a warm roof |
| Solid wall, insulated internally | 0.30 | 72.5–92.5mm insulated plasterboard (60–80mm PIR), or 50–75mm PIR between battens plus board |
| Cavity wall, filled | 0.55 (fill only) / 0.30 with additional insulation | Full-fill of the existing cavity; 50mm cavities in older houses often need internal or external insulation as well |
| Ground floor, suspended timber | 0.25 (renovation) / 0.18 (new) | 100–150mm PIR between joists on netting or battens, joints taped |
| Ground floor, solid | 0.25 (renovation) / 0.18 (new) | 100–150mm PIR under the screed or slab, 25mm upstand at the edges |
| Timber stud external wall (new) | 0.18 | 140mm stud full of mineral wool plus 40–50mm PIR inside, or 90mm stud with 90mm PIR plus 50mm board |
When the targets apply. Replacing more than half of a thermal element (re-covering a roof, re-plastering most of a wall, replacing a floor) triggers the renovation target for that element. A loft conversion, an extension or a garage conversion must meet the new-element values. Simply adding insulation to a loft is not controlled work, but it is still worth doing to 270mm.
The 50mm gap. In a pitched roof with a non-breathable felt, the insulation between the rafters must leave a 50mm ventilated air gap above it, from eaves to ridge. In a 100mm rafter that leaves 50mm for PIR, which is why the extra layer underneath is nearly always needed. With a breathable membrane and manufacturer approval the gap can sometimes be reduced or removed; the roofing materials guide covers membranes and warm flat roofs.
Worked example: a 40m² loft. 40m² of 100mm roll between the joists and 40m² of 170mm across them; check the coverage printed on each roll (it varies from about 4m² to 8m² a roll depending on thickness) and round up. Add vent trays at the eaves, loft legs and boards if it is to be a storage floor, and lagging for the tank and pipes now above the insulation.
Ventilation gaps, vapour control and condensation
Insulation makes surfaces on the cold side of it colder. Warm indoor air carries moisture, and where it meets a cold surface at or below its dew point the moisture condenses. Every insulation job therefore has two other jobs attached: stopping warm moist air getting into the cold side, and ventilating whatever gets there anyway.
Ventilation gaps that must be kept:
- Loft at ceiling level: a continuous 10mm gap at the eaves on both sides (25mm for pitches of 15° or less), with vent trays holding the insulation back so it does not block the gap, plus 5mm at the ridge on large or steep roofs. Do not push wool into the eaves.
- Insulation between rafters (cold roof): a 50mm clear air space above the insulation from eaves to ridge, with eaves and ridge ventilation as above.
- Cold flat roof: a 50mm void above the insulation, ventilated with 25mm continuous openings on two opposite sides. Warm flat roofs avoid this, which is one reason they are now standard.
- Suspended timber ground floor: air bricks in the external walls giving at least 1,500mm² per metre of wall (or 500mm² per m² of floor, whichever is greater), and a 150mm void under the joists. Insulating the floor makes the void colder, so keep the air moving.
Vapour control layer (VCL). Goes on the warm side of the insulation, always. It is either a 500 gauge (125 micron) polythene sheet with 100mm laps taped, or the foil face of PIR with the joints taped, or a foil-backed vapour check plasterboard. It stops moisture reaching the cold side in the first place. Punctures at downlights, cables and pipes should be sealed; a VCL with a hundred holes in it is a sieve.
Interstitial condensation is the invisible kind, inside the construction, and it rots rafters and joists over years. Surface condensation is the visible kind on cold corners and around windows, and it grows mould. Both are managed the same way: insulate without gaps, control vapour on the warm side, ventilate the cold side and ventilate the rooms (extract fans in kitchens and bathrooms, trickle vents on windows). Old solid-wall houses with lime plaster were designed to breathe; sealing them completely with foil-faced board can move the problem into the wall, which is why breathable insulation is sometimes the better choice on a Victorian terrace.
The materials for all of this are small and cheap: vent trays, eaves ventilators, ridge vents, polythene, foil tape, expanding foam and a few air bricks. It is the forgetting that is expensive.
Working out quantities: a room and a loft
Both plasterboard and insulation are ordered by area, and both need waste allowed. Here is the arithmetic for a typical room and a typical loft, in the form we do it at the counter.
A bedroom 4m by 3.5m, 2.4m high, stud walls and ceiling to be boarded.
- Wall area: perimeter 15m × 2.4m = 36m², less a door (1.8m²) and a window (1.5m²) = 32.7m². At 2.88m² per 2400 × 1200mm board that is 11.4 boards; with 10% waste, 13 boards of 12.5mm.
- Ceiling: 14m² = 4.9 boards; order 6 boards of 9.5mm (or 12.5mm if the joists are at 600mm centres).
- Screws: 19 boards at 30–40 each is about 700; one box of 1,000 38mm screws, plus a box of 32mm if the ceiling is 9.5mm.
- Finish: joint length is roughly 60 linear metres for skim (one 90m roll of scrim) or, for tape and joint, one roll of paper tape and about 25kg of jointing compound. For skim, 47m² at 2.5kg/m² is 118kg: 5 bags of finishing plaster.
- Insulation in the external wall studs, if any: the external wall area (say 9.6m²) in 100mm mineral wool slab, one pack.
A 40m² loft to 270mm.
- Between the joists: 40m² of 100mm roll, split to the joist spacing.
- Across the joists: 40m² of 170mm roll.
- Divide each by the coverage printed on the roll and round up; expect somewhere between 6 and 10 rolls of each depending on the product.
- Sundries: eaves vent trays for the length of both eaves, tank jacket and pipe lagging, and if it is a storage loft, enough loft legs and 18mm flooring boards for the boarded area only.
A room-in-roof, 30m² of rafter area at 400mm centres. 30m² of 100mm PIR cut into 340mm strips between the rafters (about 11 sheets of 2400 × 1200mm, allowing waste), 30m² of 50mm PIR across the underside (11 sheets) or 30m² of 62.5mm insulated plasterboard instead, foil tape, a can or two of expanding foam for the edges, and 90mm screws for fixing through the board into the rafters. The dormer and gable walls are then a separate calculation.
Bring the dimensions and we will do this with you and check it against the stock.
Buying plasterboard and insulation from the yard
We hold standard, moisture-resistant, fire and sound plasterboard in the common sizes, insulated boards, PIR in the usual thicknesses, glass and stone mineral wool in rolls and slabs, EPS, plus the plaster, compound, tapes, beads, screws, adhesives, VCL, vent trays and foam that go with them, at Whitemoor Lodge on Nuthall Road. Stock changes, and the less common boards and thicknesses are ordered in, so ring 0115 929 2350 to check before you set off.
Collecting. 900 × 1800mm boards go in an estate car or a small van. 2400 × 1200mm boards need a van, and they must be carried flat or on edge, not flexed across the tailgate. Insulation rolls are bulky but light; PIR sheets are 2400 × 1200mm and awkward in wind. We load with the forklift and will tell you honestly what your vehicle can take.
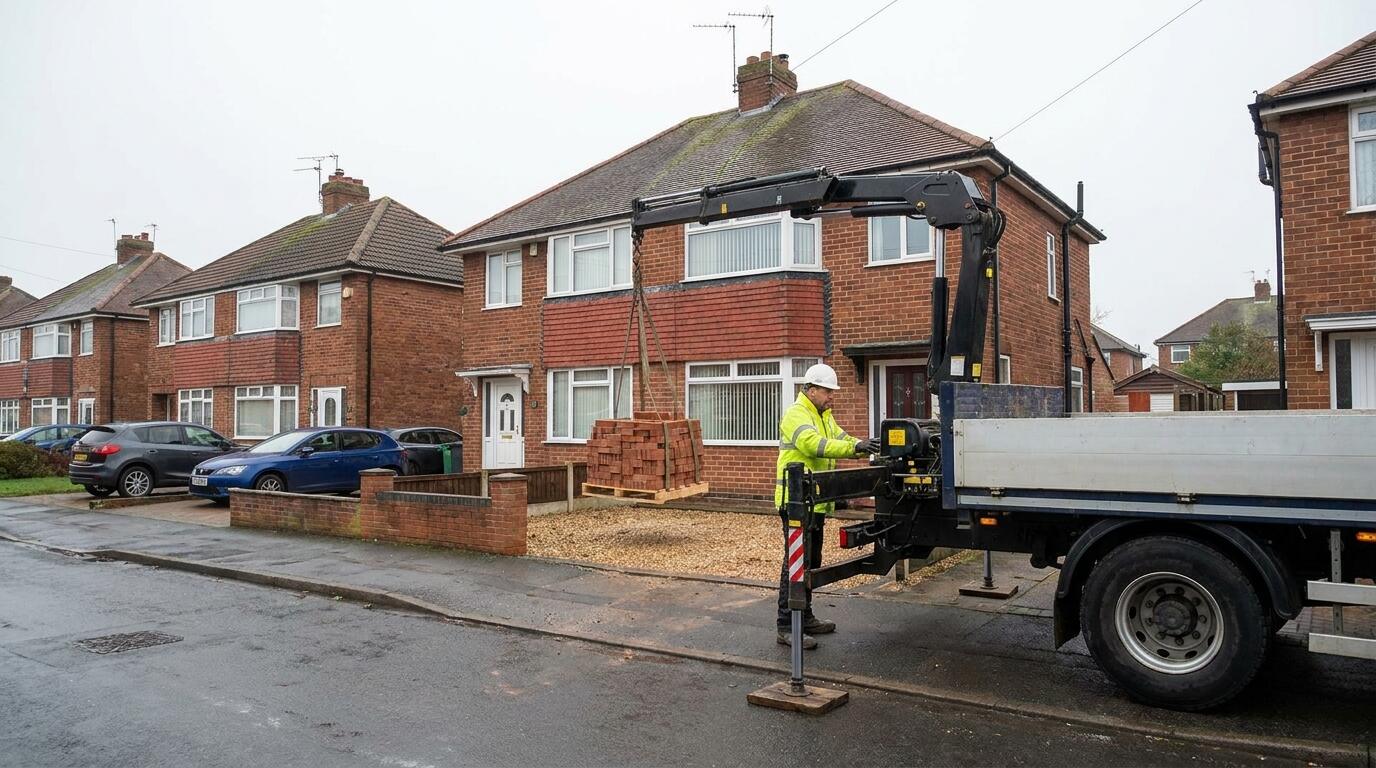
Delivery. A pallet of plasterboard weighs the best part of a tonne and is a delivery job. We deliver fast across Nottingham and the surrounding area, and where access allows the boards go to the room or the garage rather than the kerb, which saves you carrying twenty boards through the house. Tell us about stairs, narrow side passages and parking when you order; the delivery page explains what the driver needs to know.
Quantities and advice. Bring a drawing or the room sizes and we will work it out with you using the figures on this page. If Building Control has specified a U-value we can point you to the manufacturer's calculator or a tested system. If a wall is older, damp or a party wall, say so; the answer changes.
Pricing. Everything is quoted for the job. Send the list, or the dimensions, through the contact form with the site postcode and we will price materials and delivery together. Trade accounts are available for regular plasterers and dry liners. Studwork timber and sheet materials are covered on the timber merchant page, the wider range on the products section, and the yard, hours and directions on the builders merchant page.
Last updated 2026-08-29. Stock, sizes and availability change; call 0115 929 2350 to check before you set off.