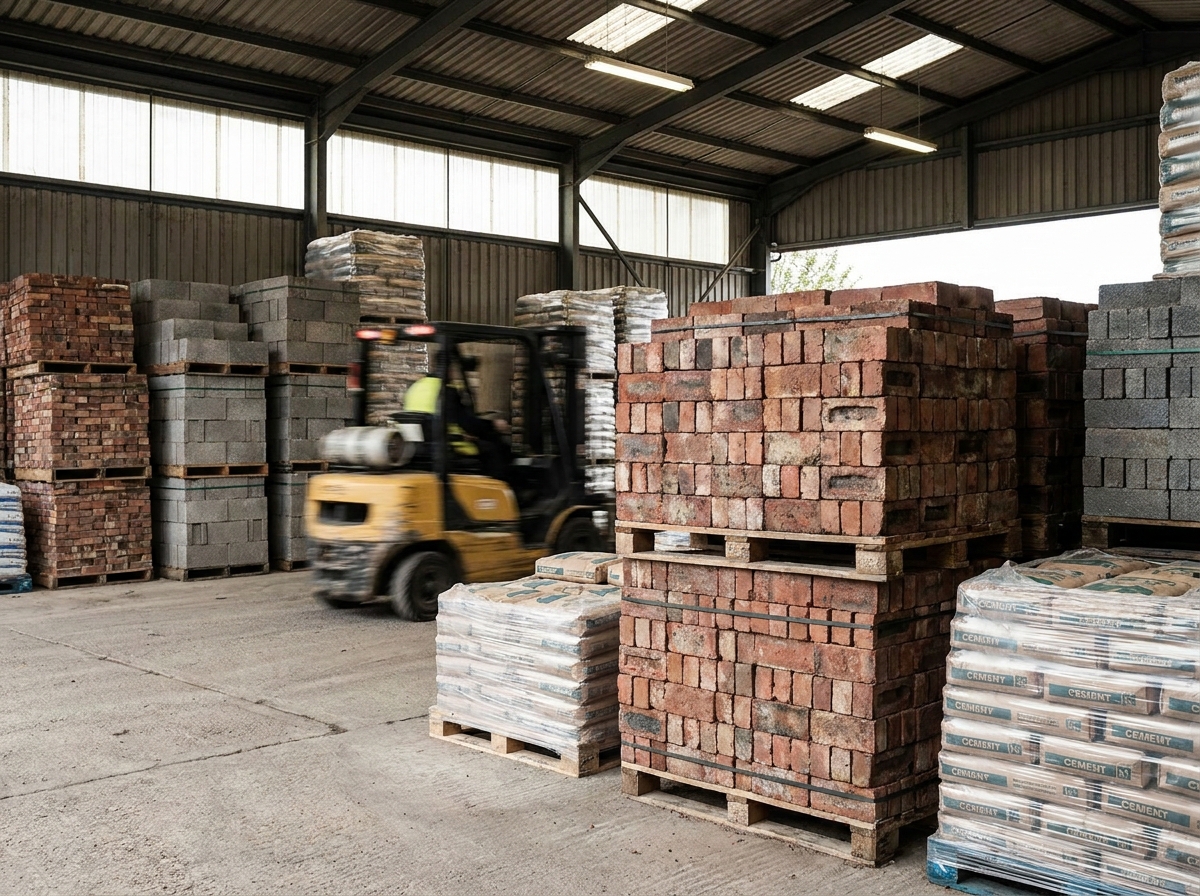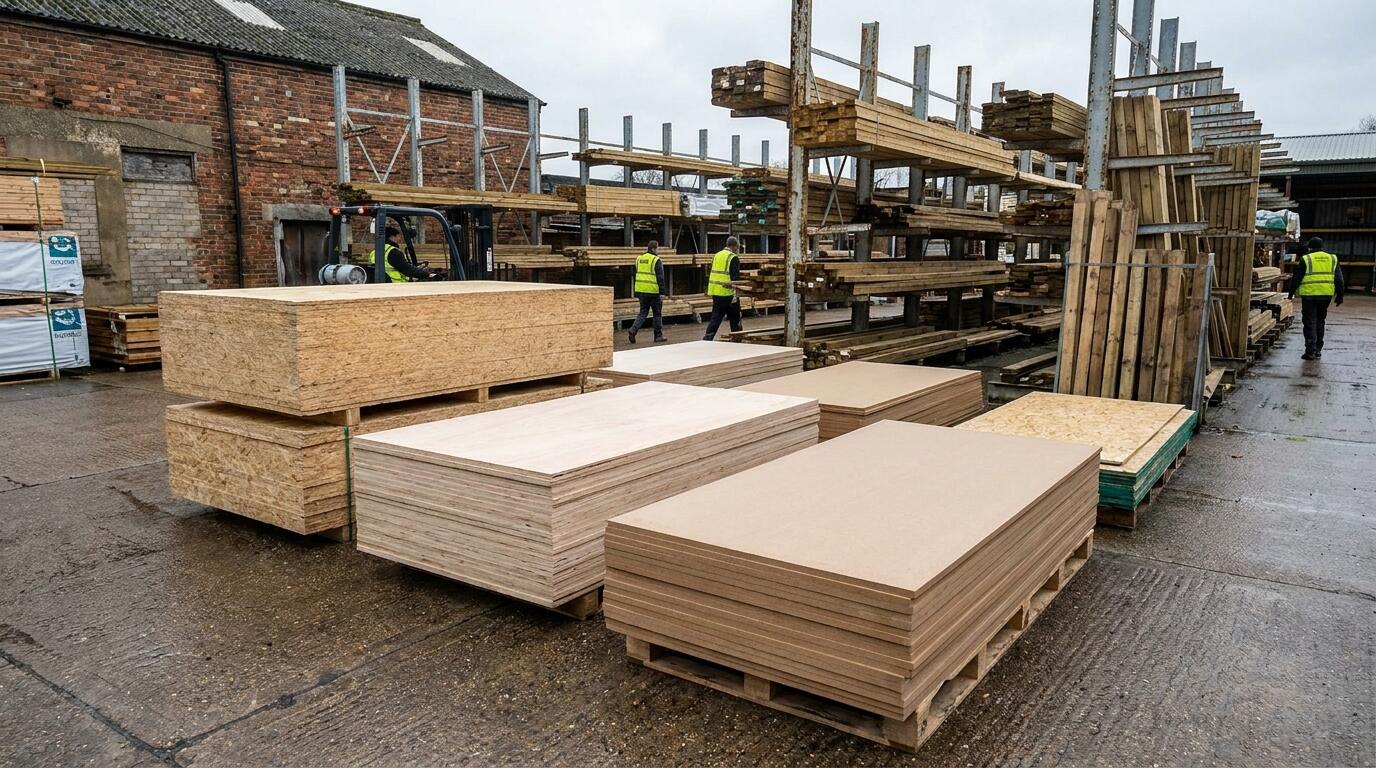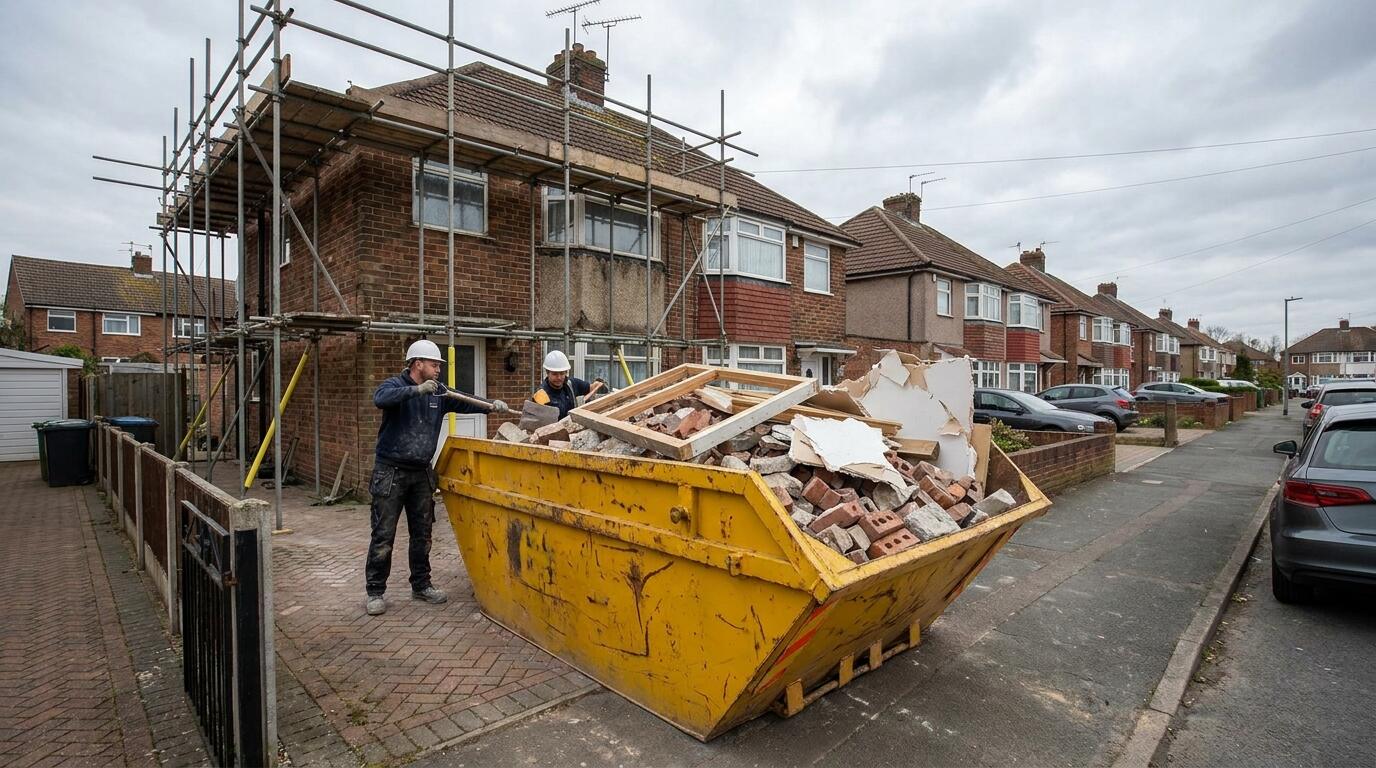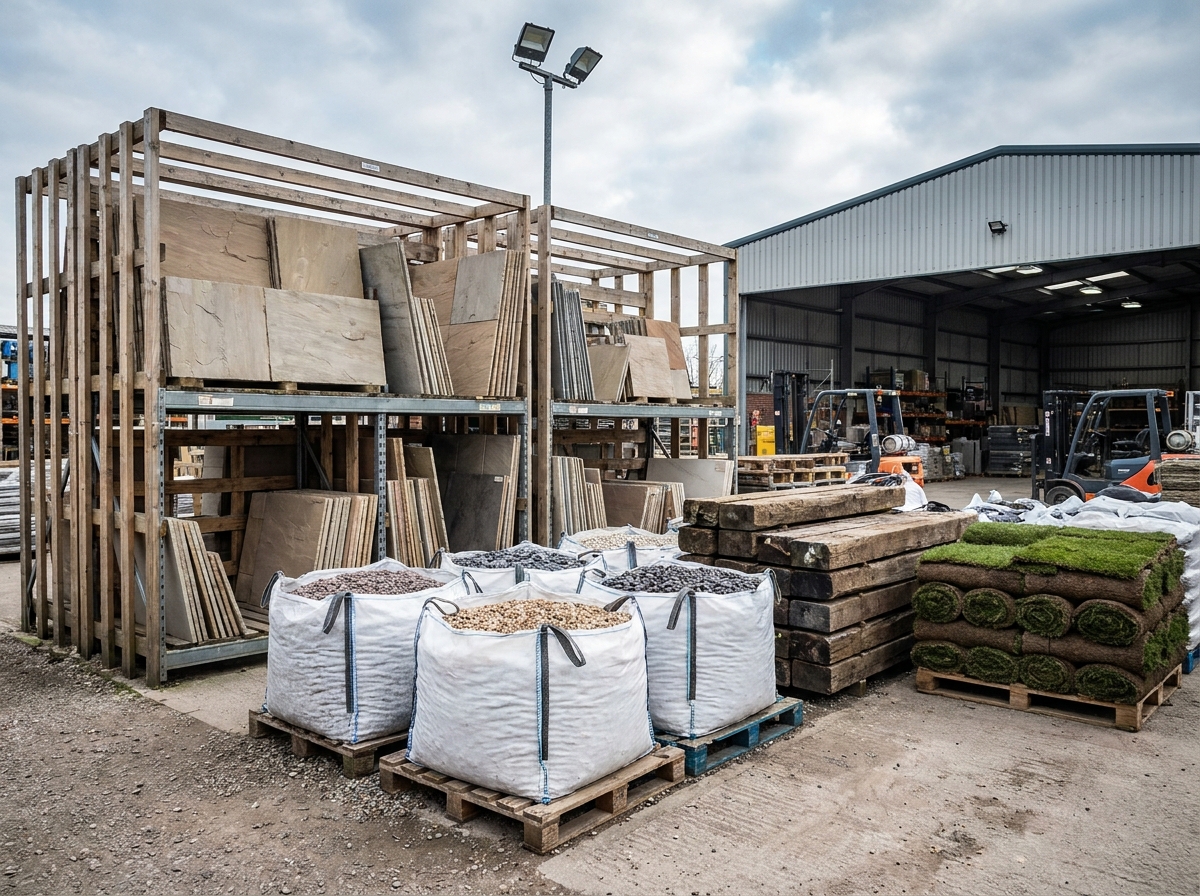
A patio or a drive is mostly what you cannot see. The slabs are the last 20mm of a 200mm build-up, and every failure we hear about at the counter, from rocking flags to hollow-sounding porcelain to block paving that has sunk into a puddle by the garage door, comes from the layers underneath or from the water not being given somewhere to go. This guide sets out the materials, the depths and the mixes that landscapers use across Nottingham, with worked quantities so you can order the job in one go. Ring 0115 929 2350 to check what is in stock before you set off.
On this page
- 1.Porcelain vs sandstone vs limestone vs concrete flags vs block paving
- 2.Excavation and sub-base: 100–150mm of compacted MOT Type 1
- 3.Bedding: full mortar bed, sand bed, and priming slurry for porcelain
- 4.Falls, levels and the damp-proof course
- 5.Jointing: brush-in compounds, mortar pointing and kiln-dried sand
- 6.Edgings, kerbs and edge restraints
- 7.Sleepers and retaining walls: oak vs treated softwood
- 8.Decorative aggregates: coverage and depths
- 9.Artificial grass: the base that makes it last
- 10.Tools to hire, and buying paving and landscaping supplies from the yard
- 11.Frequently asked questions
Porcelain vs sandstone vs limestone vs concrete flags vs block paving
Five materials cover nearly every domestic patio, path and drive. They differ in cost, weight, how they are laid and how they age.
| Material | Typical thickness | Weight laid | Laid on | Notes |
|---|---|---|---|---|
| Porcelain (vitrified) slabs | 20mm | About 45kg/m² | Full wet mortar bed with priming slurry | Absorbs almost no water, so does not stain, grow algae or need sealing; needs a wet diamond saw to cut; the bed must be full and primed or it lifts |
| Indian sandstone | 22mm calibrated | 55–60kg/m² | Full mortar bed | Natural variation in colour and riven texture; patio packs of four sizes cover about 15–20m²; seal if you want to limit staining |
| Limestone | 22mm calibrated | About 60kg/m² | Full mortar bed | Denser and flatter than sandstone, blues and greys; never clean with acid, which etches it |
| Concrete flags | 38–50mm | 85–115kg/m² | Full mortar bed or semi-dry sand and cement | Cheapest per m²; 450 × 450, 600 × 600, 600 × 450 and 900 × 600mm; pressed flags are stronger than cast; riven and textured faces available |
| Block paving | 50mm (paths, patios), 60mm (drives), 80mm (heavy) | About 115kg/m² (50mm) | Screeded sharp sand laying course, no cement | 50 blocks per m² at 200 × 100mm; herringbone for drives; permeable versions available; easy to lift and relay |
Choosing. Porcelain has taken over the patio market because it stays clean and comes in large, precise formats; the price is paid in labour, because it cannot be laid on a cheap bed or cut with a hand grinder. Sandstone gives a softer, traditional look at a lower material cost and is more forgiving to lay. Concrete flags remain the economical answer for paths and utility areas. Block paving is the drive material: it takes a car, drains through the joints (or through the block, if permeable) and a sunken patch can be lifted and relaid without a skip.
For a front drive, remember the 2008 planning rule: a new or replacement front-garden surface over 5m² must be permeable or drain to a lawn or soakaway within the plot, not to the road. Permeable block paving on a Type 3 sub-base, or a channel drain to a soakaway, satisfies it; the drainage guide covers both.
Excavation and sub-base: 100–150mm of compacted MOT Type 1
The sub-base carries the load and spreads it into the ground. Skimp on it and everything above moves.
| Use | Sub-base (compacted) | Bed | Surface | Dig depth (approx.) |
|---|---|---|---|---|
| Patio or path, foot traffic | 100mm MOT Type 1 | 30–40mm mortar | 20–50mm slab | 170–200mm |
| Driveway, cars | 150mm MOT Type 1 | 50mm sharp sand (blocks) or 40mm mortar (flags) | 60mm blocks or 50mm flags | 250–270mm |
| Gravel path | 75–100mm MOT Type 1 | Membrane | 40–50mm gravel | 130–150mm |
| Gravel drive | 150mm MOT Type 1 | Membrane, optional gravel grid | 40–50mm angular gravel | 200–220mm |
| Artificial grass | 50–75mm MOT Type 1 or Type 3 | 20–25mm sharp sand or granite dust | Grass | 90–120mm |
Excavation. Dig to the depth above plus a little, remove all topsoil and vegetation (roots and organic matter rot and settle), and keep the formation level to the same fall as the finished surface. On soft or clay ground, which is common on the east side of Nottingham, lay a non-woven geotextile on the formation before the stone so the Type 1 cannot punch down into the clay. A patio 5m by 4m dug to 200mm produces 4m³ of spoil, nearer 5m³ once it is loosened, which is a skip, not a trip to the tip in a hatchback.
MOT Type 1 is crushed stone graded from 40mm down to dust, which is why it locks together under a compactor; hardcore, crusher run and pea gravel do not behave the same. Lay it in layers no more than 75–100mm thick and compact each layer with a plate compactor (a "wacker plate", from tool hire) in at least two passes each way, damping it lightly if it is dusty. It compacts by roughly 20–25%, so order loose volume accordingly.
Quantities. A bulk bag (about 850kg) of Type 1 covers 4–5m² at 100mm compacted and about 3m² at 150mm. The 20m² patio needs five bulk bags; a 40m² drive at 150mm needs about thirteen. Type 1, Type 3, sharp sand and the geotextile are all covered in the bricks, blocks and aggregates guide, which also explains why building sand is the wrong sand for any of this.
Bedding: full mortar bed, sand bed, and priming slurry for porcelain
How a slab sits on its bed decides whether it rocks, sounds hollow or stays put for twenty years.
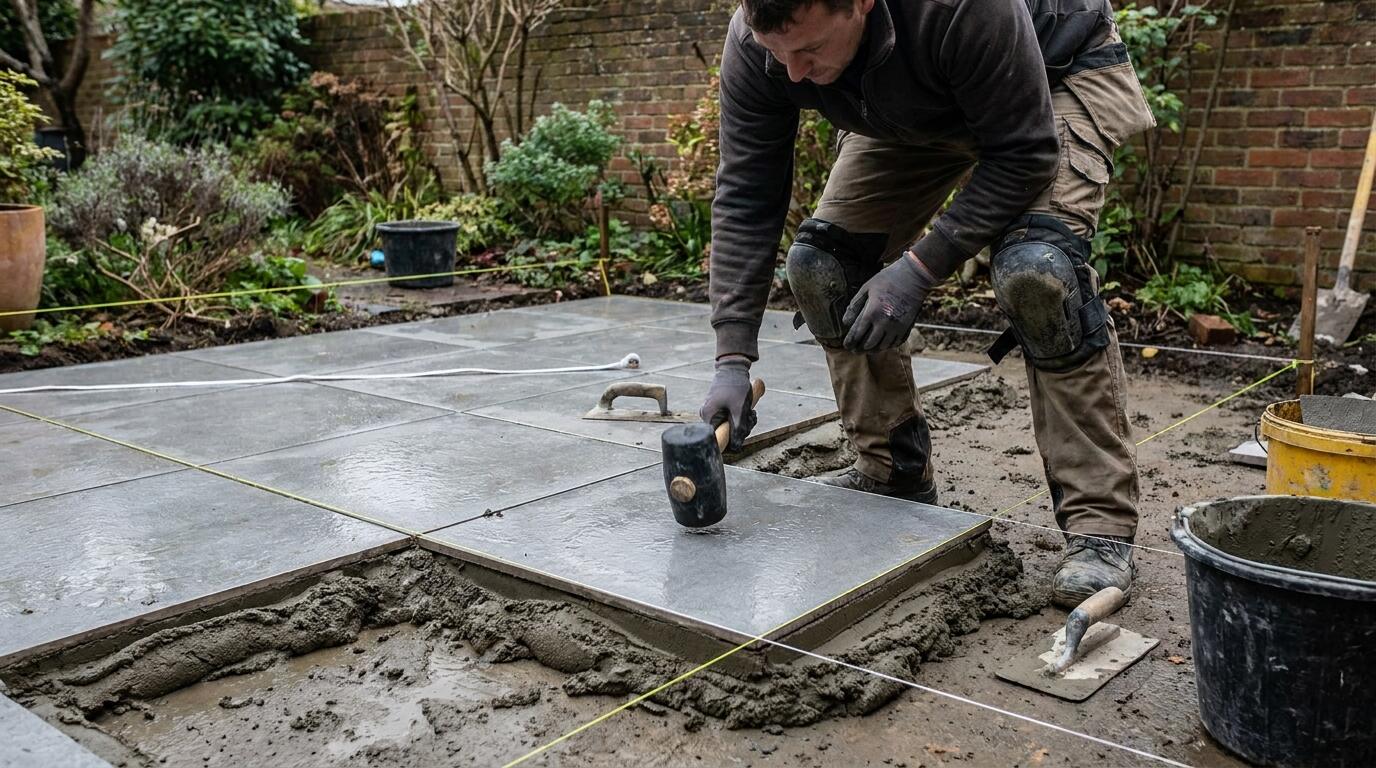
Full mortar bed (slabs). Every slab sits on a continuous bed of mortar, 30–40mm thick, mixed at 4:1 or 5:1 sharp sand to cement. For sandstone, limestone and concrete the mix can be moist and workable (holds together when squeezed, no free water). For porcelain, use a wetter, plastic mix so it moulds to the back of the slab. Spread enough for one slab, furrow it with the trowel, lower the slab, tap it down with a rubber mallet to the string line and check it with a level. Lift it and add or remove mortar if it rocks. The mistake to avoid is spot bedding: five dabs of mortar under the corners and centre. The slab bridges the gaps, water collects under it, the dabs show through pale slabs as dark patches, and one day it cracks across the unsupported span.
Priming slurry. Porcelain, and dense stone such as limestone and some granites, absorbs almost no water, so ordinary mortar does not bond to it. Brush a priming slurry across the whole back of each slab immediately before laying: either a proprietary primer or a mix of cement and SBR bonding agent (roughly 2 parts cement to 1 part SBR-and-water, to a paint consistency). Without it, porcelain lifts off the bed within a year, usually the winter after it went down. It takes thirty seconds a slab and is not optional.
Sand laying course (block paving). Blocks are laid on 50mm of sharp sand, screeded loose, with no cement, between screed rails set to the falls. The blocks are placed from a corner, cut at the edges, then compacted with a plate compactor (with a rubber mat for textured or thin blocks) in several passes, which settles the sand by about 10mm and locks the blocks together. Kiln-dried sand is then brushed into the joints and the blocks compacted again. The sand must be coarse, washed sharp sand; building sand holds water and turns to soup under a car.
Quantities. A 40mm mortar bed uses about 0.04m³ per m²: one bulk bag of sharp sand does 12–13m² with 4–5 bags of cement at 5:1. A 50mm sand laying course does 10–11m² per bulk bag. For the 20m² patio: two bulk bags of sharp sand, eight bags of cement, and a litre or two of SBR for the slurry if it is porcelain.
Falls, levels and the damp-proof course
Paving must shed water. A patio laid dead level holds puddles that freeze, grow algae and drive water back towards the house. The standard fall is 1:60 to 1:80 away from the building, which is 12.5–17mm of drop for every metre.
| Fall | Drop per metre | Drop over 3m | Drop over 4m | Drop over 6m |
|---|---|---|---|---|
| 1:40 | 25mm | 75mm | 100mm | 150mm |
| 1:60 | 16.7mm | 50mm | 67mm | 100mm |
| 1:80 | 12.5mm | 37.5mm | 50mm | 75mm |
Smooth porcelain and sawn stone shed water at 1:80; riven sandstone and textured concrete, which hold water in the surface, are better at 1:60 or even 1:40. Block paving drives are usually laid at 1:60 to 1:80 with a cross-fall towards a channel drain or a lawn edge.
Worked example. A 4m deep patio against the house at 1:60 drops 67mm from the house to the garden edge. If the paving must be 150mm below the damp-proof course at the house wall, the far edge is 217mm below DPC, and the sub-base formation follows the same slope. Set two string lines, one at the house and one at the far edge, at the finished paving level, and check each slab against a straight edge laid between them.
The DPC rule. External paving should finish at least 150mm below the damp-proof course (usually two brick courses), so that rain splashing off the paving does not bridge the DPC and soak the inside wall. Where a level threshold makes that impossible, run a linear channel drain along the wall or the door, or leave a 150mm wide gravel-filled margin against the wall that lets water drop away. Never bury an air brick under new paving; a suspended timber floor needs it.
Where does the water go? A patio falls towards the lawn, which absorbs it. A drive falls towards a channel drain, a soakaway or a permeable margin, not the road. The drainage guide explains channel drain load classes, soakaways and the rules on discharging to the highway.
Jointing: brush-in compounds, mortar pointing and kiln-dried sand
Joints keep water out of the bed, stop the slabs moving against each other and, on block paving, are what locks the whole surface together. The method depends on the paving.
| Method | Joint width | Suits | Notes |
|---|---|---|---|
| Brush-in polymeric compound (one-part) | Typically at least 3–5mm wide and 20–30mm deep; check the tub | Porcelain, sandstone, limestone, concrete flags on patios | Wet the paving, brush in, compact with a jointing tool, rinse; sets in air. Quick and clean, moderate strength |
| Two-part resin (epoxy) compound | 5mm or more | Patios and drives, high-traffic joints | Mixed on site, worked in wet, very strong; less forgiving to apply |
| Cement mortar pointing | 8–15mm | Riven sandstone, concrete flags, traditional look | 3:1 or 4:1 sand and cement (a soft and sharp sand blend), pressed in with a pointing iron; needs care to keep off the slab face; a pointing gun with a wet mix speeds it up |
| Tile-style grout or slurry grout | 3–5mm | Porcelain with narrow joints | Applied like floor tile grout and washed off; gives the neatest look on large-format porcelain |
| Kiln-dried sand | 2–5mm | Block paving only | Brushed in dry and vibrated in with the plate compactor; top up after the first winter |
Coverage. Jointing compound use rises sharply with joint width and falls with slab size. As a rough guide, a 15kg tub of brush-in compound does 8–12m² of 600 × 600mm slabs at a 5mm joint, but only 3–5m² of a riven four-size sandstone pattern with 12mm joints. Every manufacturer prints a coverage table on the tub; use it, and buy one tub more than it says. A bag of kiln-dried sand (about 20–25kg) does 5–8m² of block paving.
Two rules that save patios. First, joint after the bed has cured for at least 24–48 hours, and do not walk on new slabs until it has. Second, never leave slabs unjointed over a winter: water gets into the bed, freezes, and the slabs lift. If the weather beats you, brush kiln-dried sand into the joints as a temporary fill and joint properly in spring.
Acid-based patio cleaners will etch limestone and some sandstones and dull the surface of cheap concrete flags; use a pH-neutral cleaner or plain water and a stiff brush, and a pressure washer on porcelain only.
Edgings, kerbs and edge restraints
Every paved area needs a restraint at its edge or the surface spreads. On a mortar-bedded patio the outer slabs are held by their own bed and joints, but block paving, gravel and any surface that carries a car needs a proper edge.
| Edging | Size | Use |
|---|---|---|
| Concrete edging kerb, round top, flat top or bullnose | 915 × 150 × 50mm and 915 × 200 × 50mm | Paths, patios, gravel areas, lawn edges; the most common restraint |
| Road kerb (half-battered, bullnose) | 915 × 255 × 125mm | Drive entrances, where the kerb is driven over or takes a vehicle edge |
| Block paving edge course (soldier course) | Same blocks, laid on end or on edge | Drives and paths in block paving; laid first, on concrete |
| Setts and cobbles | 100 × 100mm and similar | Decorative borders, tree surrounds, a contrast to plain flags |
| Treated timber or metal edging | Various | Gravel paths, lawn edges, artificial grass; light duty only |
Laying an edge. Edgings and edge courses are bedded on and haunched with concrete: a 100mm thick bed of 1:6 (or C20) concrete, the kerb set to line and level on it, and a haunch of concrete on the outside face at least 100mm wide, brought up to 25–50mm below the top so that turf or gravel can hide it. The concrete does the work; a kerb bedded on sand or mortar dabs will be pushed out by the first car. For a block paving drive, the edge course is laid and left to cure before the sand laying course goes in, so the screed rails have something to work to.
Quantities. Bed and haunch together use roughly 0.04m³ of concrete per linear metre, so a bulk bag of ballast with five bags of cement does about 12m of edging. Concrete edgings are 915mm long, so a 12m run needs 14 units. For a long drive edge, ready-mix is quicker; see ready mix concrete.
Where a patio meets a lawn, setting the edging 10–15mm above the paving keeps the gravel or the turf from migrating onto the slabs, and a flush edge lets the mower run over it. Decide which you want before the concrete goes down.
Sleepers and retaining walls: oak vs treated softwood
Timber sleepers build raised beds, steps, low retaining walls and lawn edges quickly and look right in most gardens. Two materials dominate.
| New oak (green oak) | Treated softwood (UC4) | |
|---|---|---|
| Typical size | 2.4m × 200 × 100mm; also 250 × 125mm | 2.4m × 200 × 100mm; also 2.4m × 250 × 125mm and 3.0m lengths |
| Weight (2.4m × 200 × 100mm) | 45–50kg | 25–30kg |
| Life in ground contact | 20 years and more untreated; heartwood is naturally durable | 15 years or so with UC4 treatment and treated cut ends |
| Appearance | Golden, silvering to grey; will split and check as it dries, which is normal | Green or brown; can be stained or painted once dry |
| Watch out for | Tannin leaching stains paving and concrete for the first year; very heavy | Must be UC4, not UC3, if it touches the ground; treat every cut end |
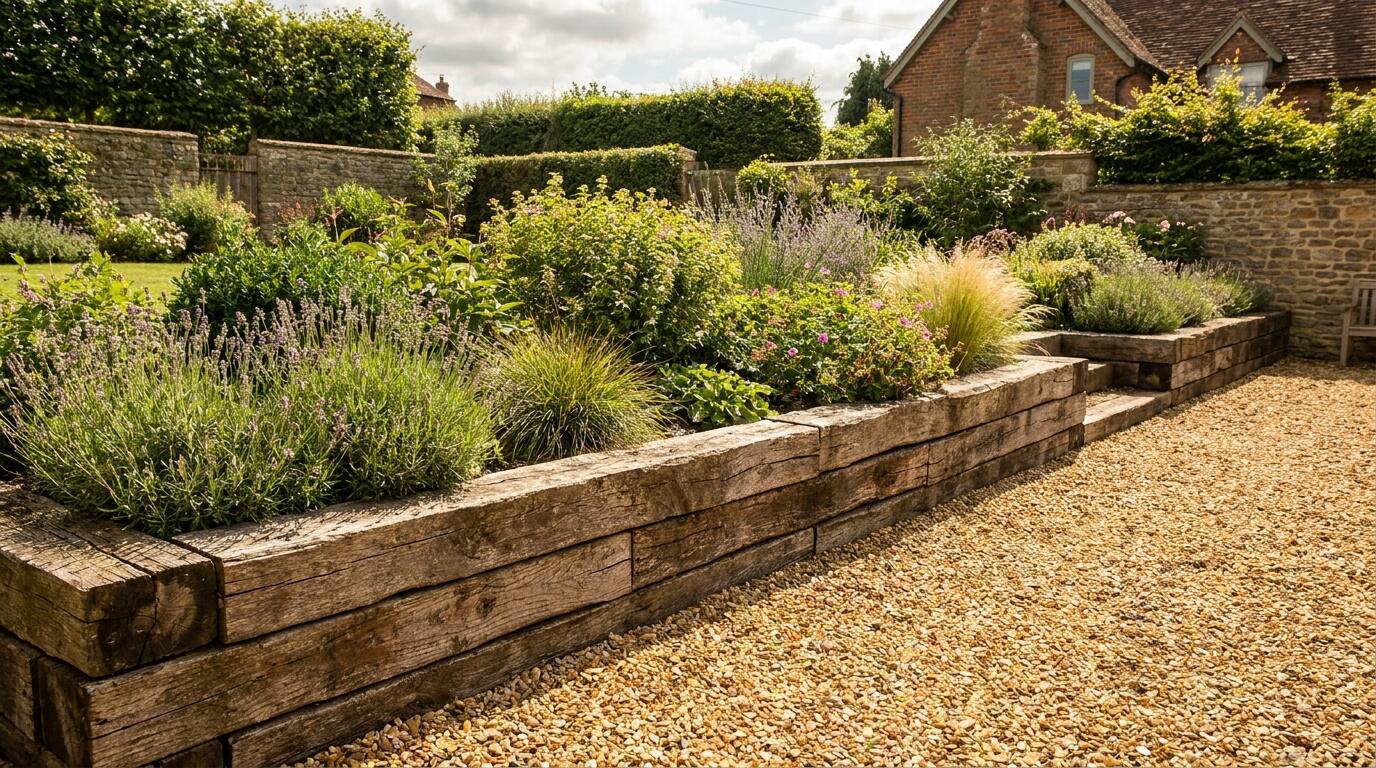
Reclaimed railway sleepers are still around; most are creosoted, which is why they last, and creosote is now restricted, so they should not be used where skin contact is likely (seating, play areas) or for vegetable beds. New oak or treated softwood is the sensible choice for both.
Building with them. For a raised bed or a wall up to three sleepers high (600mm), lay the first course on a 100mm bed of compacted Type 1 or concrete, stagger the joints like brickwork, and fix each course to the one below with 150–200mm landscaping screws (two per joint) or with 12mm steel pins driven through drilled holes into the ground. Above 600mm, or where the wall retains a slope, add 100 × 100mm posts concreted in at 1.2m centres on the retained side, or drive 600mm steel pins through every course into the ground. Line the back of any retaining wall with a damp-proof membrane so the soil does not sit against the timber, put 150mm of clean 20mm gravel behind it with a perforated land drain at the base leading out at the end, and leave weep gaps in the bottom course.
Limits. A sleeper wall over about 1m retaining a bank is a structural job; get it designed, and check planning: walls over 1m next to a highway or 2m elsewhere need permission. For anything bigger than that, a blockwork or engineering brick wall from the bricks and blocks guide is the right material. Treated timber use classes are explained in the timber guide.
Decorative aggregates: coverage and depths
Gravel, chippings and cobbles are the quickest way to cover ground, and the quickest to get wrong by ordering too little or laying too deep. The depth depends on the size of the stone: too shallow and the membrane shows through, too deep and it is hard to walk on and expensive.
| Aggregate | Recommended depth | Bulk bag (~850kg) covers | 25kg bag covers |
|---|---|---|---|
| 10mm gravel or pea shingle | 30–40mm | 14–18m² | 0.4–0.5m² |
| 20mm gravel, golden or grey | 50mm | 10–12m² | 0.3–0.35m² |
| 20mm angular gravel on a drive | 40–50mm over Type 1 | 10–12m² | 0.3–0.35m² |
| 40mm slate chippings | 40–50mm | 12–14m² | 0.35–0.4m² |
| Cobbles and pebbles 40–90mm | Two stones deep, about 100mm | 5–7m² | 0.15–0.2m² |
The arithmetic behind the table: area × depth gives volume, and a bulk bag of most gravels is about 0.55m³ (slate is lighter per bag, so it goes a little further). 10m² at 50mm is 0.5m³, so one bag. It is easier to do the sum than remember the table: metres squared × depth in metres = cubic metres; divide by 0.55 for bags.
Worked example: a 30m² gravel garden at 50mm. 30 × 0.05 = 1.5m³; 1.5 / 0.55 = 2.7, so order 3 bulk bags of 20mm gravel and a 30m² roll of woven membrane. If it is a drive, add 150mm of Type 1 underneath: 30 × 0.15 = 4.5m³ compacted, about 5.5m³ loose, 11–12 bulk bags.
Drives. Use an angular 14mm or 20mm gravel, which locks together; rounded pea gravel rolls under tyres and migrates onto the road. Keep the depth to 40–50mm; deeper gravel is soft to drive on. Plastic gravel grids filled with stone hold it in place on slopes and near the road, and count as a permeable surface under the planning rules.
Membrane. A woven polypropylene weed membrane (around 100gsm) goes under any decorative gravel, pinned at the edges and overlapped by 100mm. It stops weeds coming up through and stops the gravel disappearing into the soil. Do not use it under paving mortar, and use a heavier non-woven geotextile where the job is separating Type 1 from soft ground rather than stopping weeds.
Artificial grass: the base that makes it last
Artificial grass is only as good as what it sits on. Laid straight onto soil it goes lumpy in a season and puddles in winter. The build-up is a small-scale version of a paving sub-base.
- Excavate 75–100mm, removing all turf and topsoil, and treat any perennial weeds. Keep a slight fall (1:80 or so) so water drains off rather than sitting.
- Edge restraint. Treated timber (UC4, 100 × 50mm or 150 × 25mm) pegged to the ground, or a concrete edging, all round. The grass is fixed to it later.
- Sub-base. 50–75mm of MOT Type 1, or Type 3 where drainage is the priority, compacted with a plate compactor in two layers.
- Laying course. 20–25mm of sharp sand or, better, 0–6mm granite dust (grano), screeded flat and compacted so the surface is smooth and firm underfoot. This is the layer that shows through as bumps if it is rushed.
- Weed membrane. A woven membrane over the laying course, pinned; it stops anything growing through the drainage holes in the grass.
- Grass. Roll out, let it relax for an hour or two in warm weather, cut in with a sharp knife from the back, join lengths with joining tape and adhesive with the pile all running the same way, and fix the perimeter with galvanised U-pins at 200–300mm centres or staples into the timber edge.
- Dressing. Brush in a light dressing of kiln-dried sand, a few kilograms per square metre, to hold the pile up and weigh the grass down. Brush against the pile.
Quantities for a 25m² lawn. Type 1 at 60mm compacted: 1.5m³ compacted, about 1.9m³ loose, 4 bulk bags. Grano or sharp sand at 25mm: 0.63m³, 1–2 bulk bags. Membrane 25m² plus laps, roughly 30m². Grass is sold from rolls 2m or 4m wide; a 5m by 5m lawn is best cut from a 4m roll as one 4m by 5m piece and one 1m by 5m piece, joined once, rather than three narrow strips. Pins, tape, adhesive and about 100kg of kiln-dried sand.
Two things to think about before ordering. Artificial grass gets hot in sun, which matters for children and dogs, and it is not permeable in the way a lawn is, so where it replaces a large area at the front of a house the drainage rules for drives apply. The materials for the base are all stocked; the grass itself we can advise on. Ask at the counter.
Tools to hire, and buying paving and landscaping supplies from the yard
A patio or drive needs a few tools that are not worth owning for one job. Most are available on daily and weekly rates from our tool hire; see our services.
- Plate compactor (wacker plate) for the sub-base and for block paving, with a rubber mat for the blocks.
- Mini excavator for anything over 10m² of excavation, and a skip for the spoil, arranged through skip hire.
- Cement mixer for the mortar bed; a full-bed patio uses more mortar than a hand mix will keep up with.
- Wet bench saw with a diamond blade for porcelain, essential; a petrol disc cutter with a diamond blade and water suppression for stone, concrete and blocks. Dry cutting stone and concrete without extraction is a serious silica dust hazard; wear an FFP3 mask and use water.
- Block splitter for block paving cuts, quicker and cleaner than a saw for straight cuts.
- Levels and lines: a 2m straight edge, a 1.2m spirit level, string line and pins, and a laser level for a large area.
- Hand tools: rubber mallet (white for porcelain, which black rubber marks), pointing trowel and jointing tool, screed rails and a screed board, rakes, a slab lifter for large-format porcelain, knee pads and gauntlets.
Materials from the yard. Porcelain, sandstone, limestone and concrete paving, block paving, edgings and kerbs, MOT Type 1 and Type 3, sharp and kiln-dried sand, cement, SBR, jointing compounds, priming slurry, oak and treated sleepers, landscaping screws and pins, decorative gravels and slate, membranes, geotextile, channel drains and soakaway crates. Stock changes with the season, and some paving ranges are ordered in, so ring 0115 929 2350 to check before you set off; the wider range is on the products section. If the finished patio is getting a barbecue, we are also an official Calor stockist for Patio Gas.
Quantities and delivery. Bring the dimensions and we will work out sub-base, bed, paving, jointing and edging with sensible waste (10% on paving, more on a diagonal or four-size pattern). Paving comes on pallets and aggregates in bulk bags, delivered fast across Nottingham and the surrounding area on a crane or forklift vehicle; tell us whether it needs to go over a wall or down a side passage. The delivery page explains what the driver needs to know.
Pricing. Everything is quoted for the job. Send the list, or the plan, through the contact form with the site postcode and we will price materials, delivery, tool hire and a skip together. Trade accounts are available for regular landscapers.
Last updated 2026-08-29. Stock, sizes and availability change; call 0115 929 2350 to check before you set off.